Saturday, 26 January 2013

Australia Day 2013 & 1974

Unfortunately, this was the extent of my Australia Day activities this year.
For the past few years I have attended the Brisbane Bayside Restorer's Australia Day Rally, but due to the weather the Capri didn't leave the garage.
Talking about the weather, we found these pictures of a flooded Capri in the Capri Club archives. It was during the famous Brisbane 1974 floods and is on Coronation Drive, Toowong. If you know anything about this car (It looks like a 69GT), I would like to hear from you.

Monday, 21 January 2013

2013 Burton Power (UK) Catalogue

 I received this in the mail today & it has a huge amount of information about classic Fords. Some of you may have received it previously but it is a first for me & will be a great reference book for parts.


Sunday, 20 January 2013

A brief history of my 1972 Capri XL


I have owned the Capri for twelve years after buying it for $2300 from a young guy living in the Bayside suburb of Ormiston. I wasn’t particularly after a Capri but after I saw this one and it was all there, still registered and had a sports steering wheel that I really liked, I took the big plunge. I don’t know a lot about the history of this car other than the previous owner had it for a relatively short time after purchasing it from another Bayside resident who had owned it for sometime. There is a suggestion that it may have been a prize won in the Miss Australia Quest when these were in vogue in the 70s. I have tried several times to find out more about its past but I haven't been able to get past the previous owner, despite a Transport department search. What I do know is that who ever did own it had several young children as the back seat and parcel tray had numerous holes resulting from child restraint buckles and clips. It is also one of only 171 XL Auto models built in 1972 and cost about $3390.
My Capri has the 1600 GT engine and auto transmission (not my preferred option) and apart from a sports air cleaner is stock standard. In fact, the engine is the only area of the car which hasn’t required any major attention, but I am saving! Over the time I have had the car, I have reconditioned or refurbished many items eg. front suspension, auto transmission, diff, brakes, Weber carbie, radiator, alternator, interior carpets, parcel trays and had some of the seats redone. My biggest expense was the rust removal and repaint job (Ford Winter White) done in 2003. I knew that restoring cars was a wallet lightening experience, but I didn’t realise quite how much until I recently totalled the receipts with the final tally a bit of a shock and remains known only to me!
Having done most of the hard work, I quite enjoy driving the Capri and my adult kids often want to take it for a spin. It was used for several years as a daily driver over a short distance and I am quite at ease driving it in city traffic. It has been reliable and is economical to run, even using premium unleaded fuel. It is relatively easy to work on and most parts can be obtained with a bit of a chase, I have enjoyed the restoration process, have measured up the garage and I think another manual Capri might just fit – but there is a significant family member to convince. Dream on, I am told! (I wrote this little article a few years ago & now I have the second one in the garage!)
 

Saturday, 19 January 2013

An Intro into my 1970 Capri 1600 Deluxe


I bought the Jewel Green 1970 1600 Deluxe in October 2008 after it was advertised on EBay for 30 minutes. It was a local car (Brisbane) and I was very lucky with the condition of the car. I was also very fortunate that I was able to trace its original owner for 37 yrs. & be given the original sales docket for the car. This was really useful as any official records from the Ford Motor Company result in no knowledge of this vehicle. One of the most difficult things to replace in the restoration was the front right guard. I final sourced a fibreglass one & after several attempts to fit it correctly, you really can’t notice the difference. I was really happy with the new paint job & the colour is great. The complete restoration process is documented in my other blog site and if you want to find out all about my problems, then have a good look at:
Towards the end of last year (2012), I reconditioned the engine & the gearbox. I will document this rebuild later in this blog. I really like driving this car & it is far more fun to drive than the automatic XL. The body is very rigid with no rattles & it is obvious that it has been regularly maintained throughout its lifetime. The one thing that I would like to improve is the brakes and whilst they aren’t bad, they are nowhere near as good as those on the white XL. It is a great club car and I have tried to keep it as original as possible.


Saturday, 12 January 2013

Jewel Green Engine Reno - 1


For some time now, in fact the last year, the Capri has been leaking oil quite badly. From all my investigations it would appear to be the engine rear oil seal so it was a major job & one that I have kept delaying. In addition to that, on several occasions I have noticed blue smoke coming out the exhaust & I put that down to overfilling the sump. Also the clutch has been rattling & lastly, the gearbox has never had synchro on first gear. So, a few things needed to be done & these all required the engine & gearbox to be removed. Two years ago when I first did up the JG Capri I spent a lot of time on the top of the engine but didn’t ever attempt a full engine overhaul.
Anyway, all my delaying tactics were jolted when I saw that Super Cheap was advertising a 1250kg engine crane for $190 or half price. The car Gods were giving me a message! What a good Father’s Day present! So after spending a morning putting it together I had no real excuses. This is the monster that really started it all!

3/9/12
I actually started.  I spent a fair bit of time ensuring that I could get the engine out of the car with the crane whilst it was under my house. All my calculations indicated that it would be fine. So, then to finding the best lifting points & I decided to go for the front inlet manifold bolt & the rear exhaust manifold bolt. Before I did anything else, we took the compression readings for all cylinders. The back three all registered about 120 & the front cylinder was a bit less than 100. Not real good! That means new rings will probably be necessary but we will wait & see. Next came out all the hoses, radiator, carbie linkages & then both the manifolds. I decided to take the engine & gearbox out separately as I was concerned about the angle & height in doing both at the same time. Maybe, I just should have removed them together. When I was at the stage of hoisting the engine out, the first problem appeared. Even with the boom fully extended, the crane legs would not quite fit under the stabiliser bar so I had to jack up the car & put it on stands. With the help of my neighbour, KH, the engine finally came out & with the help of the crane, it was quite easy.

Friday, 11 January 2013

Jewel Green Engine Reno - 2


 4/9/12
Today, I spent most of the morning getting out the gearbox & removing the bell housing. It all went fairly easily except everything I did to try & stop the oil coming out the rear of the gearbox didn’t work so I had oil everywhere & that took ages to clean up. I don’t know why I didn’t drain the oil first! In fact I had to hose out the garage floor. Having both out parts out, it was very obvious that it had been leaking oil for a considerable period of time.
10/9/12
Next, I dismantled the clutch & noted that the most of the parts are worn & I will possibly need a complete clutch assembly. Then the flywheel came off & then the sump. I had difficulty trying to find the best way to work on the engine & I still have not found the most ideal stand.


Thursday, 10 January 2013

Jewel Green Engine Reno - 3


12/9/12
The pistons came out today & it was quite interesting that No1 piston, the one with the low compression reading had a broken top ring as did the next, No 2. I am glad we decided to go the whole way & who knows how long they have been broken for or whether I had broken one on its removal. The back two piston rings were intact. The bores look OK & the pistons seem good enough to reuse but they need a good clean up. The pistons have +060 marked on them so that might prove interesting in getting them replaced.   This afternoon, I got the Karcher fired up & cleaned all the bits – the block, gearbox, bell housing, sump & various other bits. More cleaning still to be done & then it is chasing up parts. I still need to see how to remove the rear seal.

15/9/12
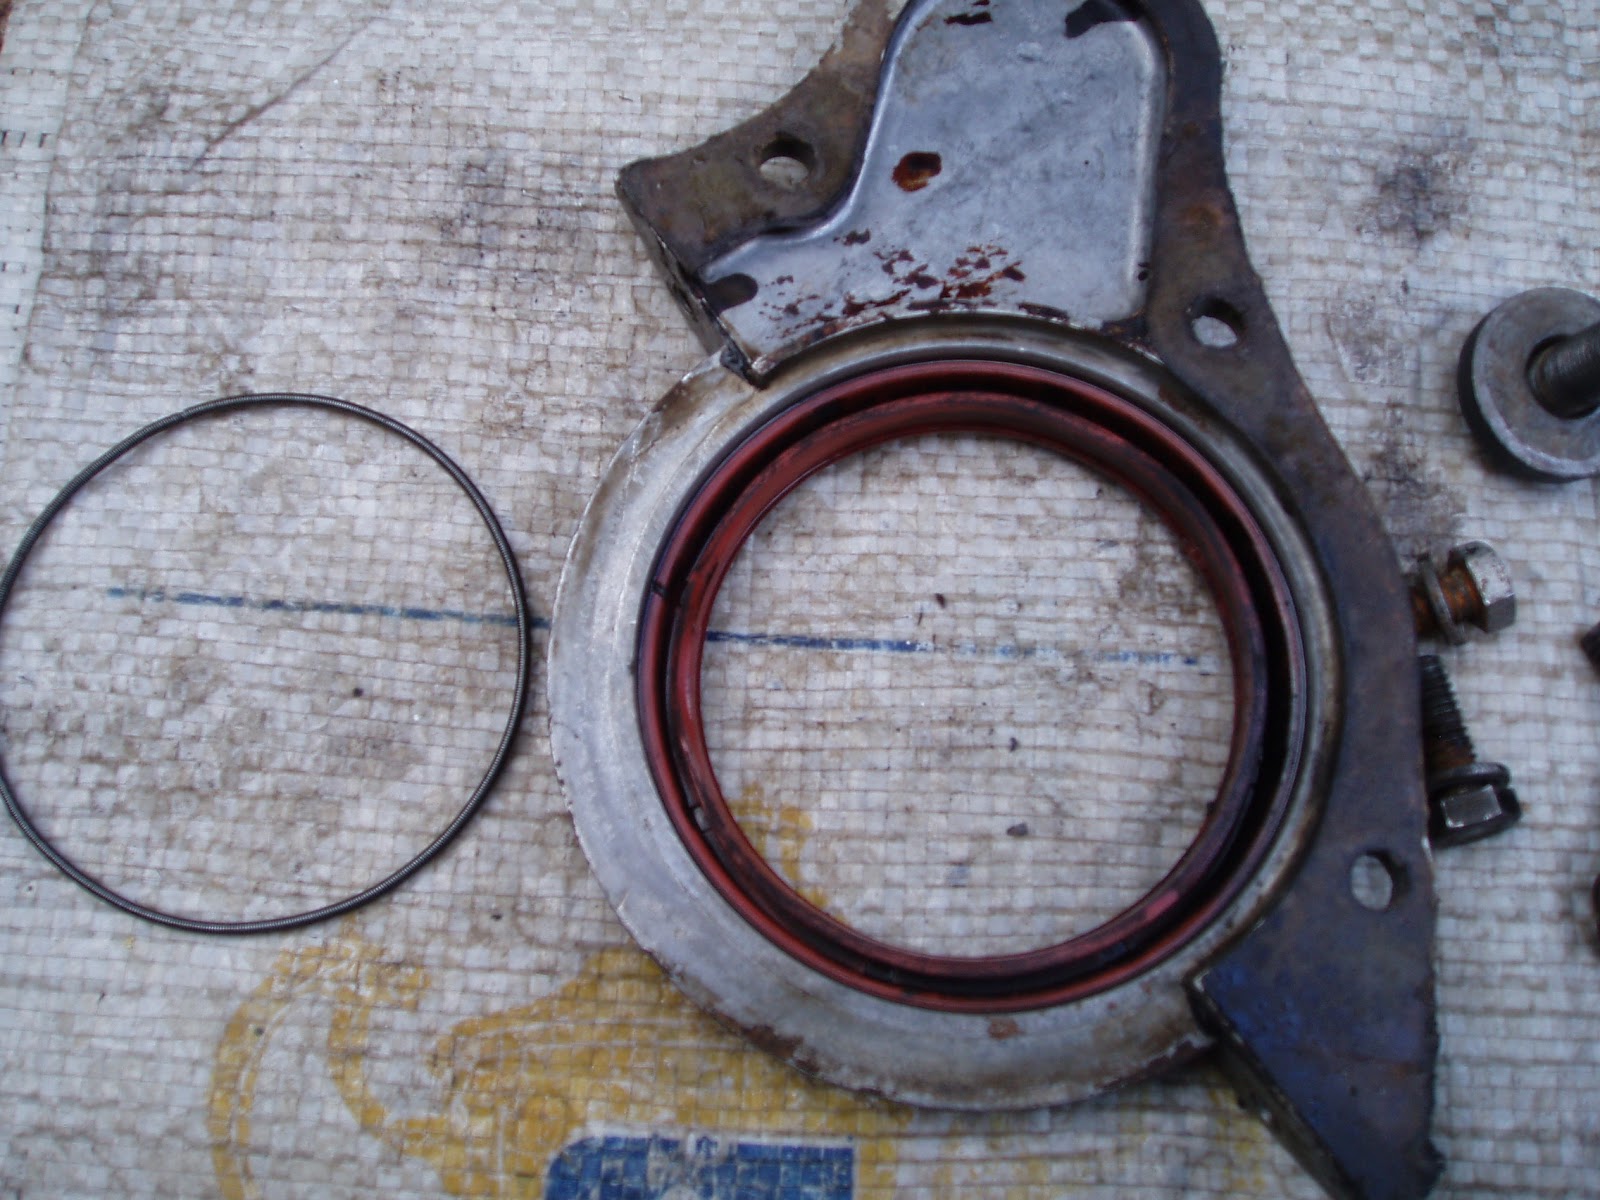
Removed the real oil seal cover & then removed the seal which was split in one section so that really was the cause of the oil leaks. Then I removed the front oil seal cover but getting the seal out is a different story. I am going to have to find a suitable tool to slowly & carefully drive it out. I then cleaned all these parts & checked that the new seals that I had bought from England some months earlier fitted & they do.