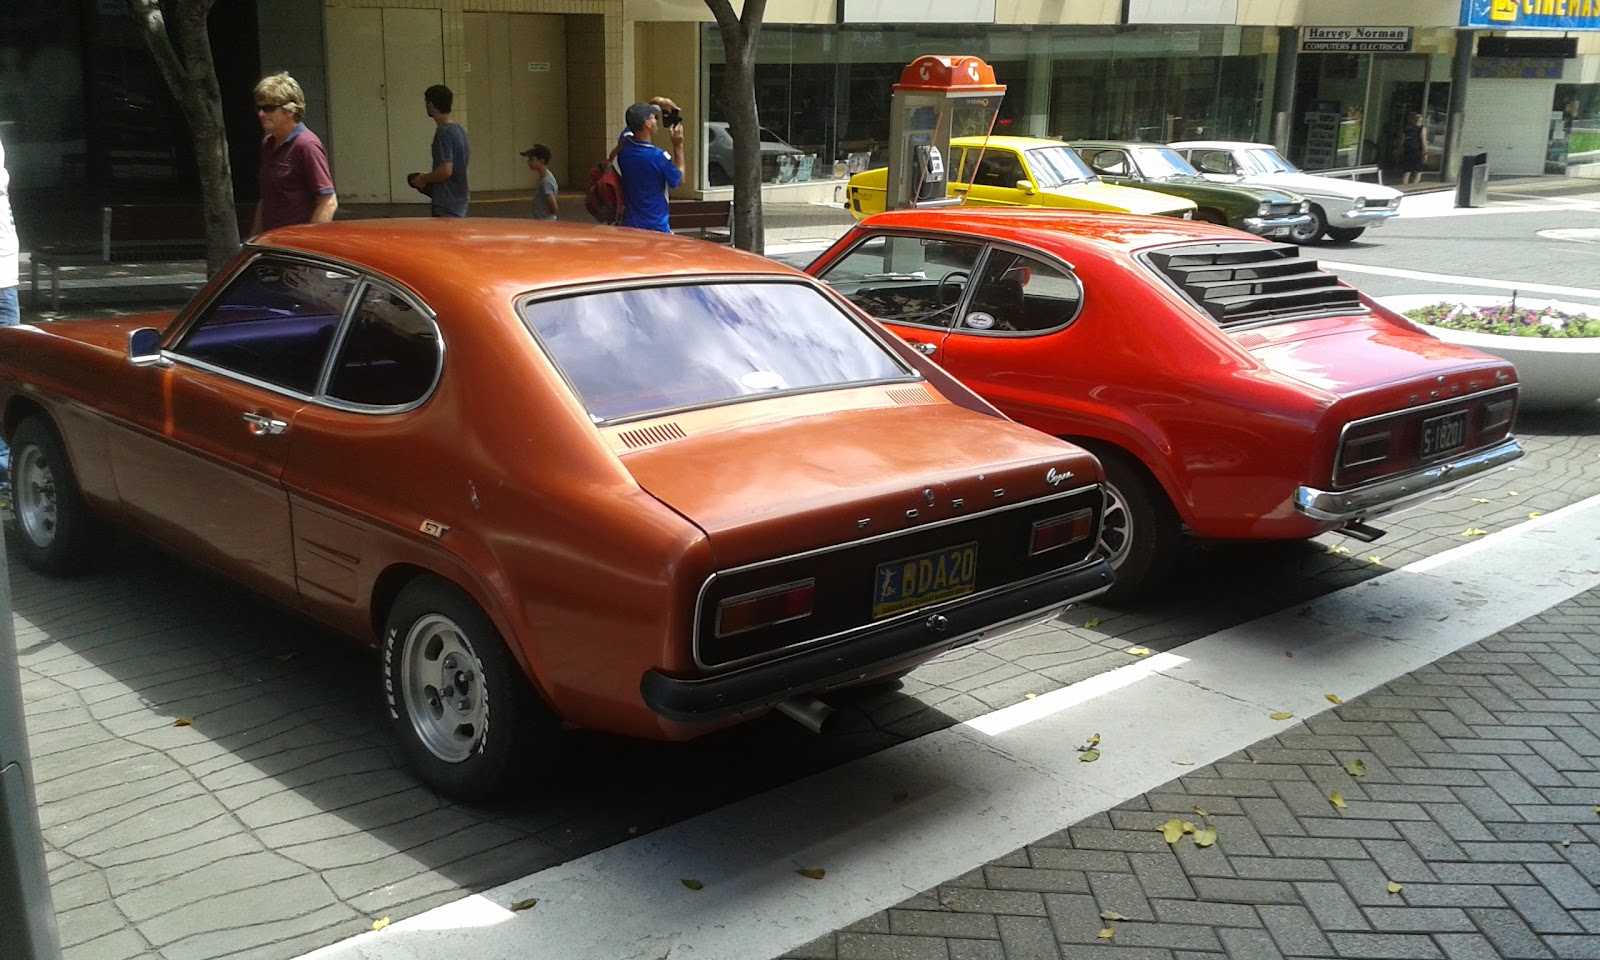
Whilst looking through the Capris & Cortinas for sale on EBay, I came upon this interesting ad.
http://www.ebay.co.uk/itm/Cortina-Mk-1-GT-Genuine-/231887336641?hash=item35fd8ff4c1:g:OfMAAOSwLpdW8nZ4
 It is for an Australian Cortina GT which has ended up in the UK & with an opening bid of 25,000 Pounds which equates today to $Aus 47,000. Nice money if you can get it.
Read through the ad & at the end, click onto the barn finds web site. Amazing & I gather that it is somewhere in South Australia.
Pity, but I couldn't see any Capris tucked away or covered in dust.
It is for an Australian Cortina GT which has ended up in the UK & with an opening bid of 25,000 Pounds which equates today to $Aus 47,000. Nice money if you can get it.
Read through the ad & at the end, click onto the barn finds web site. Amazing & I gather that it is somewhere in South Australia.
Pity, but I couldn't see any Capris tucked away or covered in dust.
I attended my first swap meet for the year at Ormiston on Sunday. It is one I usually visit as it is one of the bigger ones on the south side of Brisbane. These days I go with very little expectation of finding anything for Capris. This year was no different - not one Capri item. The closest was some Mk 1 Cortina bits & pieces. Sometimes, I wish vendors would label clearly what they are selling & it might help buyers like me. As usual, there is always a lot of rubbish! I couldn't return home without buying something so the best I could find were 2 Hotwheels cars for my grandsons for a $1 each. A bargain!
Not much else is going on with the Capris at the moment.
If you have been reading my previous posts, you would remember that I have been trying to improve the brakes (brake pedal pressure) on my green Deluxe. After my last test drive, I was still not happy as it appeared that there was still air in the lines. The only thing that I had not done to the brake system since owning the car was recondition the master cylinder. It was not leaking but after reading a lot on Dr Google was convinced that there was still air in the system
I ended up taking the master cylinder off (not a big job, but a bit messy with brake fluid dripping everywhere so make sure you cover the paint well).

 Off to All Brake & Clutch Supplies at Rocklea where I have been going for a number of years, & asked if they could check it out. They had it ready the next day - no bad news, everything good with a new rubber kit installed for $65. Better than I expected. They also gave a few good tips on bleeding the master cylinder & the system (like doing it with the motor running).
After initially bleeding the MC on the work bench (I am not sure how successful that was as a fair bit of fluid was all over the place in the process!), I fitted the MC back onto the car.
Then with the help of my patient wife, I bleed each of the pipes at the MC several times. At the end of this the pedal pressure was really good with no fade & engine running.
I then did one front wheel & again the pedal pressure is as I would expect. At last, good pedal pressure with little travel. Haven't had a test drive yet as it was a bit wet today, so I will try it on the weekend. Hopefully, this is the end of the brake issue. I think the main problem was air in the MC & not bleeding that properly first.
Have fun with your Capri!!
Off to All Brake & Clutch Supplies at Rocklea where I have been going for a number of years, & asked if they could check it out. They had it ready the next day - no bad news, everything good with a new rubber kit installed for $65. Better than I expected. They also gave a few good tips on bleeding the master cylinder & the system (like doing it with the motor running).
After initially bleeding the MC on the work bench (I am not sure how successful that was as a fair bit of fluid was all over the place in the process!), I fitted the MC back onto the car.
Then with the help of my patient wife, I bleed each of the pipes at the MC several times. At the end of this the pedal pressure was really good with no fade & engine running.
I then did one front wheel & again the pedal pressure is as I would expect. At last, good pedal pressure with little travel. Haven't had a test drive yet as it was a bit wet today, so I will try it on the weekend. Hopefully, this is the end of the brake issue. I think the main problem was air in the MC & not bleeding that properly first.
Have fun with your Capri!!
On the drive to Ipswich on the weekend in my green Deluxe, I wasn't real happy with the brakes as I seemed to have to pump them at times. It has been worrying me for some time, not so much that it is a real safety issue but the fact that my white Capri has a really good firm brake pedal. Also, on the way home the brakes were squealing nearly every time they were applied. So, I had a free day and it was time to bleed the complete brake system & have a look at the front disc pads.
Firstly, I drained the master cylinder, making sure the paint work was protected as that brake fluid marks the paint really quickly. That didn't take long but revealed a lot of gunk in the bottom of both chambers. Getting it out was not that easy but sucking it up with a plastic filler got most of it, then I modified the end of the vacuum cleaner & sucked up all the rubbish. Using a small rag on the end of a screwdriver, I cleaned it all as well as I could. I really didn't want to remove the plastic chamber from the metal main section of the master cylinder as I have had problems with refitting it.

 Next step was to jack up the car & have a look at all the brakes, front & back. I find it easier to take off all the wheels so I can get to the bleeder screws. None of the corners seem to have any leaks which was a good sign. I then removed the front disc pads as I wanted to apply some anti squeal grease to them. Both the disc pads & the rear linings had plenty left on them so no need to replace anything.
Then I attached plastic hoses with containers to the three bleed points, both front & rear left, undid the bleeder screws and let all the fluid drain.
Next step was to jack up the car & have a look at all the brakes, front & back. I find it easier to take off all the wheels so I can get to the bleeder screws. None of the corners seem to have any leaks which was a good sign. I then removed the front disc pads as I wanted to apply some anti squeal grease to them. Both the disc pads & the rear linings had plenty left on them so no need to replace anything.
Then I attached plastic hoses with containers to the three bleed points, both front & rear left, undid the bleeder screws and let all the fluid drain.


 While these were draining, I cleaned all the components on each wheel with compressed air. This blew a lot of rubbish out of the discs & the rear covers.
Then, using the Bendix lubricant (as per the attached photo) on the back of each disc pad, I refitted the disc pads.
Next step was to reconnect the brake lines to the master cylinder, top it up with new fluid & then let it run through to each of the corners with the bleeder screws left open. This took a few minutes and then I tightened all the bleeder screws. I have a one person bleeder hose, so I did one round with this on each corner. Next was the call for help to the home maker. I asked my good wife to do it the old fashioned way & after two rounds again of her pushing in the pedal, I was pretty happy with the pedal pressure. I haven't yet given it a really good test on the road yet, so I am interested to see if the pedal holds up & the brakes have stopped squealing.
I love old cars!!
Until the next little task!
While these were draining, I cleaned all the components on each wheel with compressed air. This blew a lot of rubbish out of the discs & the rear covers.
Then, using the Bendix lubricant (as per the attached photo) on the back of each disc pad, I refitted the disc pads.
Next step was to reconnect the brake lines to the master cylinder, top it up with new fluid & then let it run through to each of the corners with the bleeder screws left open. This took a few minutes and then I tightened all the bleeder screws. I have a one person bleeder hose, so I did one round with this on each corner. Next was the call for help to the home maker. I asked my good wife to do it the old fashioned way & after two rounds again of her pushing in the pedal, I was pretty happy with the pedal pressure. I haven't yet given it a really good test on the road yet, so I am interested to see if the pedal holds up & the brakes have stopped squealing.
I love old cars!!
Until the next little task!
I have previously written about fuel issues with my white XL. I have recently been away (hence, not much written on this blog) & the car has been sitting for nearly 2 weeks. On my last outing the car went really well, however the fuel gauge was nearly in the red area. So, I tried to take it to the servo last week to add some fuel to the tank. The car ran so badly that I went up the hill near my house, turned around & came back. I then added a 5 litre can of fuel but the car was still missing badly & the fuel filter showed little fuel. Time for some action as this seems to happen when the fuel gets low.
To my knowledge, the tank in this car has never been removed and my theory is that it either gets some rubbish in the bottom of the tank or it gets moisture in it. I decided to drain the tank & blow out all the fuel lines. After jacking up the rear of the car, I disconnected the fuel line at the rear junction, just below the fuel sender. This was not easy as the hoses were tightly fixed together. Once the bond was broken, the two sections separated. The photos show this
connection.

 I drained the fuel into two containers & all up, there was about 8-9 litres. The first container had a fair bit of rubbish in the bottom of it but I am uncertain if it was in the tank or came from dirt around the hose connections.
Next step was to disconnect all the fuel lines from the carbie to the fuel pump. Using my compressor, I blew back through all the hoses. Also back up through the tank. I then blew through the jets on the carbie.
Then all the hoses went back on, the fuel went back in & it went first turn & sounded much better. On driving to the servo, it wasn't completely right but after 15 litres of Shell V-Power & a short drive around my neighbourhood, it was running as it should.
So, a few lessons learnt. Firstly, I need to keep the fuel level above the one quarter level. Secondly, I must ensure to fill it with V-Power as, by accident, I may have been adding 91 octane for a while. Lastly, a fuel additive to reduce the moisture in the tank (my very experienced neighbour suggests the use of half a cup of metho is a good alternative).
Hopefully, I won't have to do all of the above too often.
I drained the fuel into two containers & all up, there was about 8-9 litres. The first container had a fair bit of rubbish in the bottom of it but I am uncertain if it was in the tank or came from dirt around the hose connections.
Next step was to disconnect all the fuel lines from the carbie to the fuel pump. Using my compressor, I blew back through all the hoses. Also back up through the tank. I then blew through the jets on the carbie.
Then all the hoses went back on, the fuel went back in & it went first turn & sounded much better. On driving to the servo, it wasn't completely right but after 15 litres of Shell V-Power & a short drive around my neighbourhood, it was running as it should.
So, a few lessons learnt. Firstly, I need to keep the fuel level above the one quarter level. Secondly, I must ensure to fill it with V-Power as, by accident, I may have been adding 91 octane for a while. Lastly, a fuel additive to reduce the moisture in the tank (my very experienced neighbour suggests the use of half a cup of metho is a good alternative).
Hopefully, I won't have to do all of the above too often.